Everybody wants to feel included—but can you really be expected to remember every single one of your coworkers every time you send a department-wide email? Here's how to create a group in Gmail, so you can save time, be more consistent, and stop forgetting to CC Dave in Accounting.
Why create groups in Gmail?
Making groups in Gmail allows you to package a list of contacts you message regularly, so you don't have to enter each address individually. This saves time, cuts out another menial recurring task, encourages
teamwork, and helps you be sure you never exclude anyone (as much as you might want to).You can also use these groups to perform contact-based actions en masse, like signing teams up for a newsletter, sending team lists to outside organizations, sharing documents, or updating permissions.
Note: Sometimes people confuse groups with Gmail aliases, which are used to make alternative email addresses managed by the same individual account. If you need a way to have one person operate multiple related email addresses, you're looking for aliases.
How to create a group in Gmail, step-by-step
Ready to group emails? Here's how to get your whole team bundled up into a single convenient package—even Dave.
-
Open Google Contacts
-
In the left menu, click Create label
-
Name your label
-
Select contacts for your group
-
Add contacts to the label you created
-
Use your group in Gmail
Keep reading for more details.
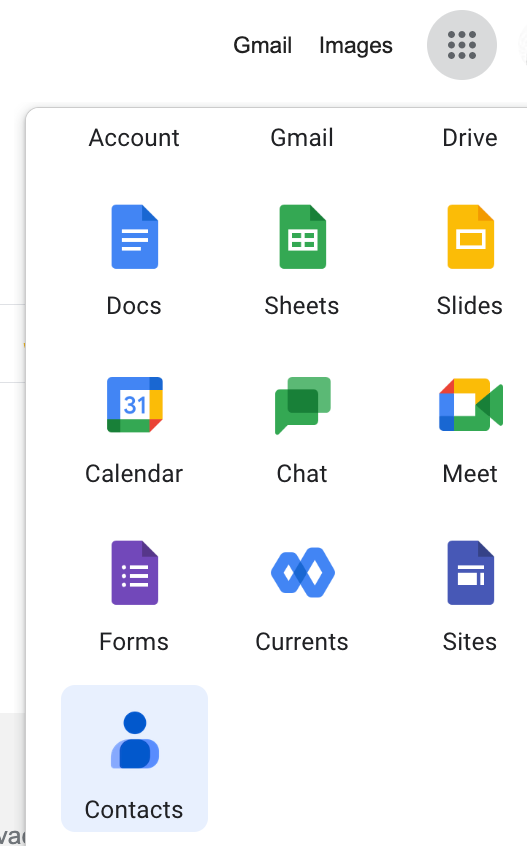
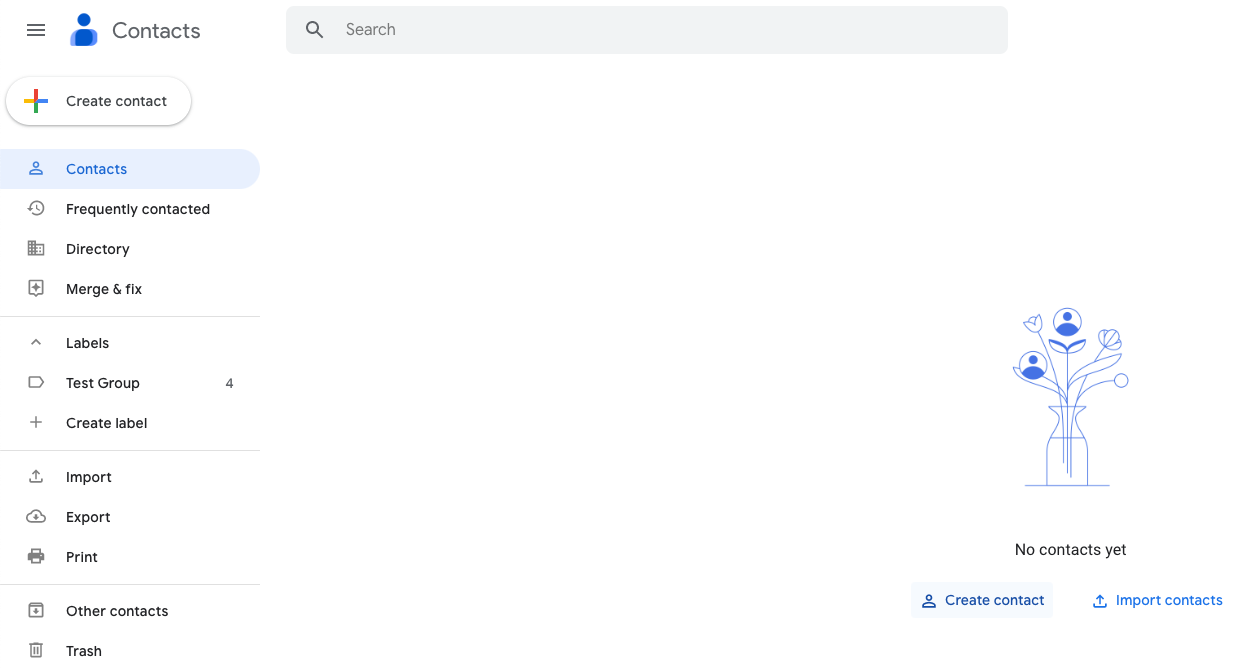
Step 1: Open Google Contacts
Open up your Google Contacts page by clicking that dot grid by your profile icon on any Google page. Any contacts you or your organization have added or with whom you often communicate will be found here.
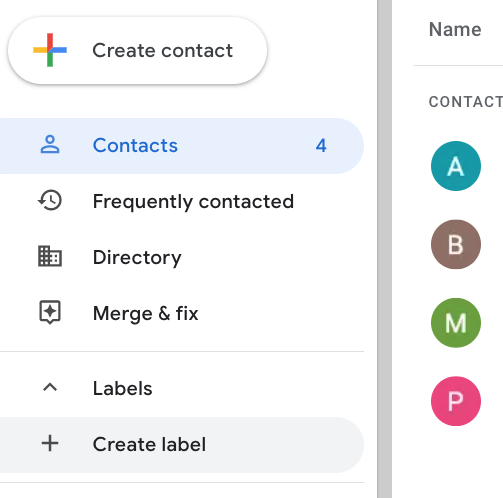
Step 2: In the left menu, click Create label
In the left menu/sidebar, you should see a caret called Labels. Open that up to reveal the Create label button, and click that.
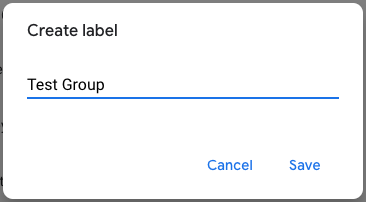
Step 3: Name your label
This should bring you to a pop-up prompting you to name the group. Consider something that'll be top of mind for you, like "Marketing Team" or "Everybody Including Dave from Accounting." Save when you're done, and your new label should appear on the sidebar under, predictably, Labels.
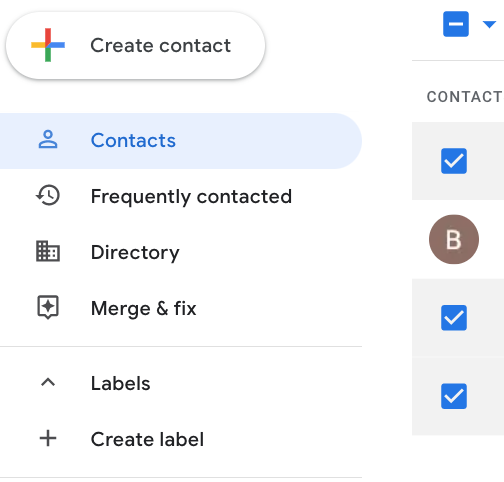
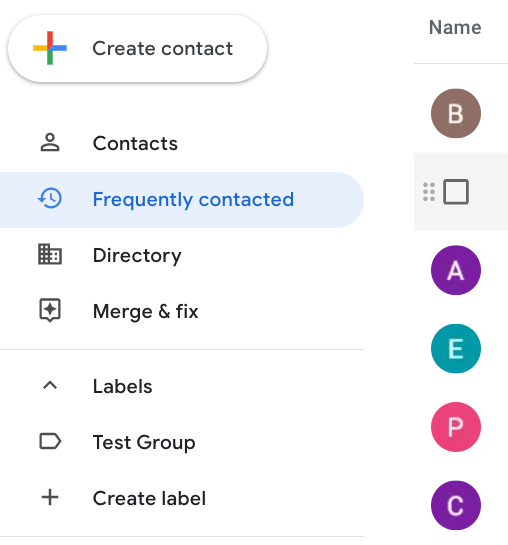
Step 4: Select contacts for your group
To find a pool of contacts to add to your new label, you can look to the Contacts, Frequently contacted, or Directory options on the sidebar. To check the boxes next to the ones you'd like to apply your label to, hover over that contact's icon.
Step 5: Add contacts to the label you created
Once you've checked all your desired contacts' boxes, click the label icon above the contact field. This will show you any labels you've already created and give you the option of creating a new one on the fly. Pick your label, and hit Apply to finish.

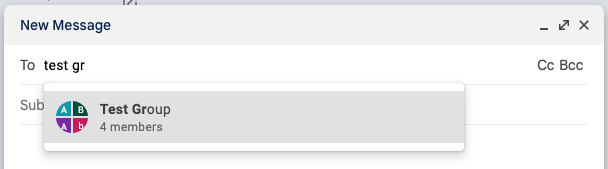
Step 6: Use your group in Gmail
Now that your label is G2G (good to go, good to Gmail, good to enGage, etc.), it should populate automatically when you want to use it. Just start typing the name in the "To" line of a new email, and it should pop up and show the number of members associated with it. It's as easy as using a Gmail shortcut.
How to manage contacts for Gmail groups
If you don't have any contacts listed in your Google Rolodex (Googodex?) yet, here's how to add them from scratch or via directory, as well as how to kick someone off your contact list if needed.
Creating or importing new contacts
To create new contacts from scratch, you can add them manually by using the Create contact button. That can be found in the top-left corner of your Contacts profile or in the Contacts tab if you don't have any yet. You can also import contacts from an XLS or vCard file using either of these two methods.
Adding contacts from your frequently contacted list or your organization's directory
If you've been using your account for a while, you probably have contacts in the Frequently contacted list in the sidebar. If your account is associated with an organization, there may also be preloaded contacts listed in the Directory tab.
In either case, you can navigate to the appropriate tab and start selecting contacts from the list. Then, click the Add to contacts button at the top to convert them straight to your own contact list.
Removing contacts from a group
Had a change to your group? Just head back to the label in question under the Labels caret to see a list of associated contacts. From there, click the three little dots to the right of the contact you want to boot, and select Remove from label.

You might think you've just learned how to create a group in Gmail, but technically, you've just learned how to create a label. This general concept is probably what you had in mind for assembling a contact bundle to keep everybody (plus Dave) included in your batch emails, but the term "Group" within the Google universe was already used for something unrelated.
Enhancing collaboration with Gmail
Tricks like creating contact labels can give you a quick boost in efficiency for common tasks like sending team emails, but to cut out hours of repetitive tasks, automation is even better. Through Zapier's Gmail automation, you can connect Gmail to all your other apps and automate your inbox.
Zapier is the leader in no-code automation—integrating with 5,000+ apps from partners like Google, Salesforce, and Microsoft. Build secure, automated systems for your business-critical workflows across your organization's technology stack. Learn more.
Related reading: